B21, China Town Mall, Midrand


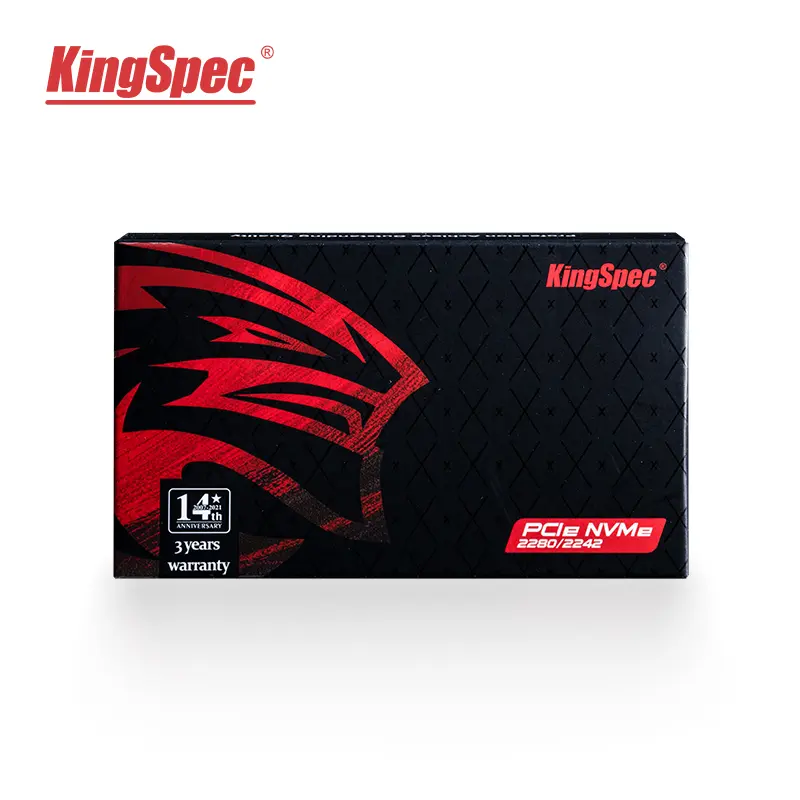
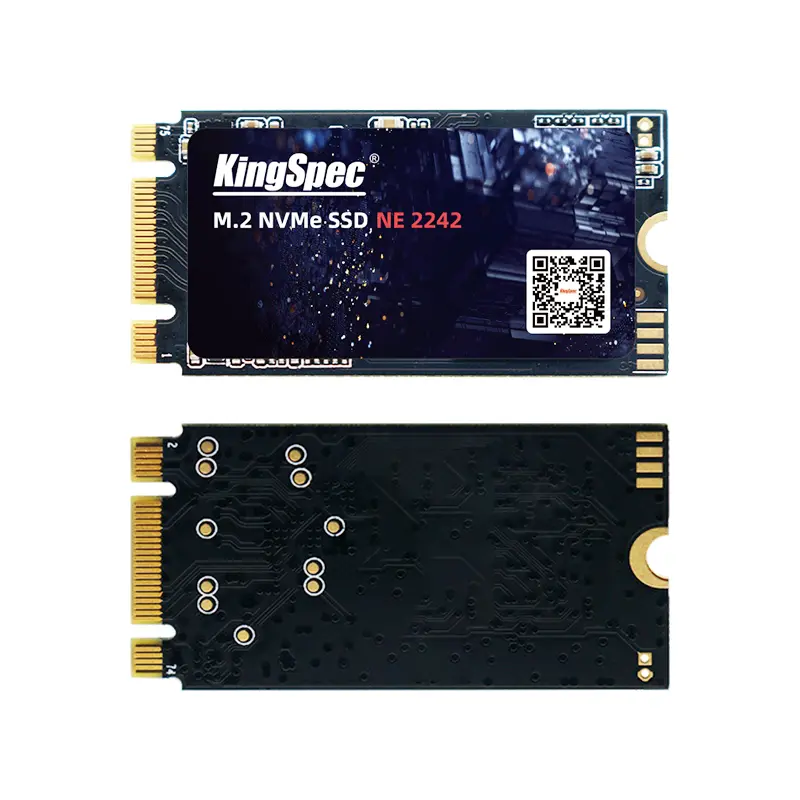

KingSpec NVMe M.2 1TB SSD Solid State Hard Drive for desktop

- Section : Computers
- Category : External Hard Drives
- SKU : 62210116930


Performance


- Shipping Timeframes: All orders are processed within 2-5 business days (excluding weekends and holidays). After your order has been processed, the estimated delivery time is before 03 Feb, 2026, depending on customs, Please note that due to high demand, some items may experience longer shipping times, which will be communicated at order confirmation email.
- Order Processing Time: Please allow 2-5 business days for us to process your order before it is shipped . Orders placed after 16:00 on Fridays, or during weekends and public holidays, will begin processing on the next business day. Processing times may be extended during peak seasons or sales events.
- Manufacturing Time: Some products needs manufacturing time, the manufacturing process will take approximately 10-30 business days depending on the product. This timeframe may vary depending on the complexity of the product and current demand. but this will be communicated with you during order confirmation.
- Returns and Exchanges: We offer a 30-day return policy for most items. If you are not completely satisfied with your purchase, you may return it within 30 days of receipt for a refund or exchange. Items must be unused, in their original packaging, and accompanied by proof of purchase. Return shipping costs are the responsibility of the customer, unless the item was damaged or defective upon arrival.
1. What type of drive is the KingSpec NVMe M.2 1TB SSD?
It is an NVMe solid-state drive in the M.2 form factor with a 1TB capacity, designed for high-performance storage in desktops (and other systems that support M.2 NVMe drives).
2. Will this SSD fit in my desktop?
It will fit in any desktop motherboard that has an M.2 slot that supports NVMe (PCIe) drives. Check your motherboard manual to confirm you have an M.2 slot that supports NVMe/PCIe rather than only SATA M.2.
3. Do I need a special driver to use this NVMe SSD?
Modern operating systems such as Windows 10/11 and recent Linux distributions include native NVMe drivers and will typically recognize the drive plug-and-play. Older OS versions may require an NVMe driver or BIOS update.
4. How much faster is an NVMe M.2 SSD compared with a SATA SSD?
NVMe M.2 SSDs generally offer significantly higher sequential and random read/write performance than SATA SSDs because they use the PCIe interface and NVMe protocol. This translates to faster boot times, quicker file transfers, and improved application responsiveness.
5. Can I install my operating system on this SSD?
Yes. You can install Windows, Linux, or other OSes on the NVMe M.2 SSD provided your motherboard supports booting from NVMe. You may need to enable NVMe/PCIe settings or update firmware in BIOS/UEFI.
6. Do I need a heatsink for this NVMe drive?
NVMe SSDs can run warm under heavy sustained workloads. Many desktop motherboards include an M.2 heatsink; if yours doesn’t, consider adding a third-party heatsink or ensuring good case airflow to reduce the chance of thermal throttling.
7. Is this SSD compatible with laptops?
It may be compatible with laptops that have an M.2 NVMe slot and sufficient physical clearance. Check your laptop’s documentation for supported M.2 key, length, and NVMe support before purchasing.
8. Will the full 1TB be available in my operating system?
The marketed 1TB capacity is measured in decimal units by the manufacturer; the OS reports capacity in binary, so the usable capacity will appear slightly less. Additionally, some space is used for over-provisioning and drive firmware.
9. Does this drive support TRIM and SMART?
Most NVMe SSDs support TRIM and SMART health reporting; these features help maintain performance and provide drive health information. Check the product specifications or manufacturer documentation for confirmation.
10. How do I install the M.2 NVMe SSD in my desktop?
Power down and unplug your PC, open the case, locate the M.2 slot on the motherboard, align the drive’s M-key edge connector with the slot, insert at a slight angle, then secure it with the mounting screw. Follow anti-static precautions and consult your motherboard manual for slot specifics.
11. Can I use this SSD in RAID configurations?
Some motherboards support NVMe RAID, but support varies by chipset and BIOS. Check your motherboard documentation and drivers. In many consumer systems, software RAID setups are possible but may require additional configuration.
12. What about warranty and reliability?
Warranty terms and endurance ratings (such as TBW or MTBF) are set by the manufacturer and can vary. Review the seller listing or KingSpec’s documentation for the specific warranty period and endurance specifications for this model.
13. How do I clone my current drive to this NVMe SSD?
Use disk-cloning software that supports NVMe drives. Connect the new NVMe drive (or use an adapter/enclosure), clone the source drive to the NVMe drive ensuring proper partition alignment and GPT/UEFI settings if you plan to boot from it, then set the NVMe drive as the primary boot device in BIOS/UEFI.
14. What should I do if the drive isn’t recognized by my system?
Update your motherboard BIOS/UEFI, verify the M.2 slot supports NVMe, ensure the drive is fully seated and secured, check BIOS settings for NVMe/PCIe mode, and try another M.2 slot if available. If problems persist, consult the vendor or KingSpec support.
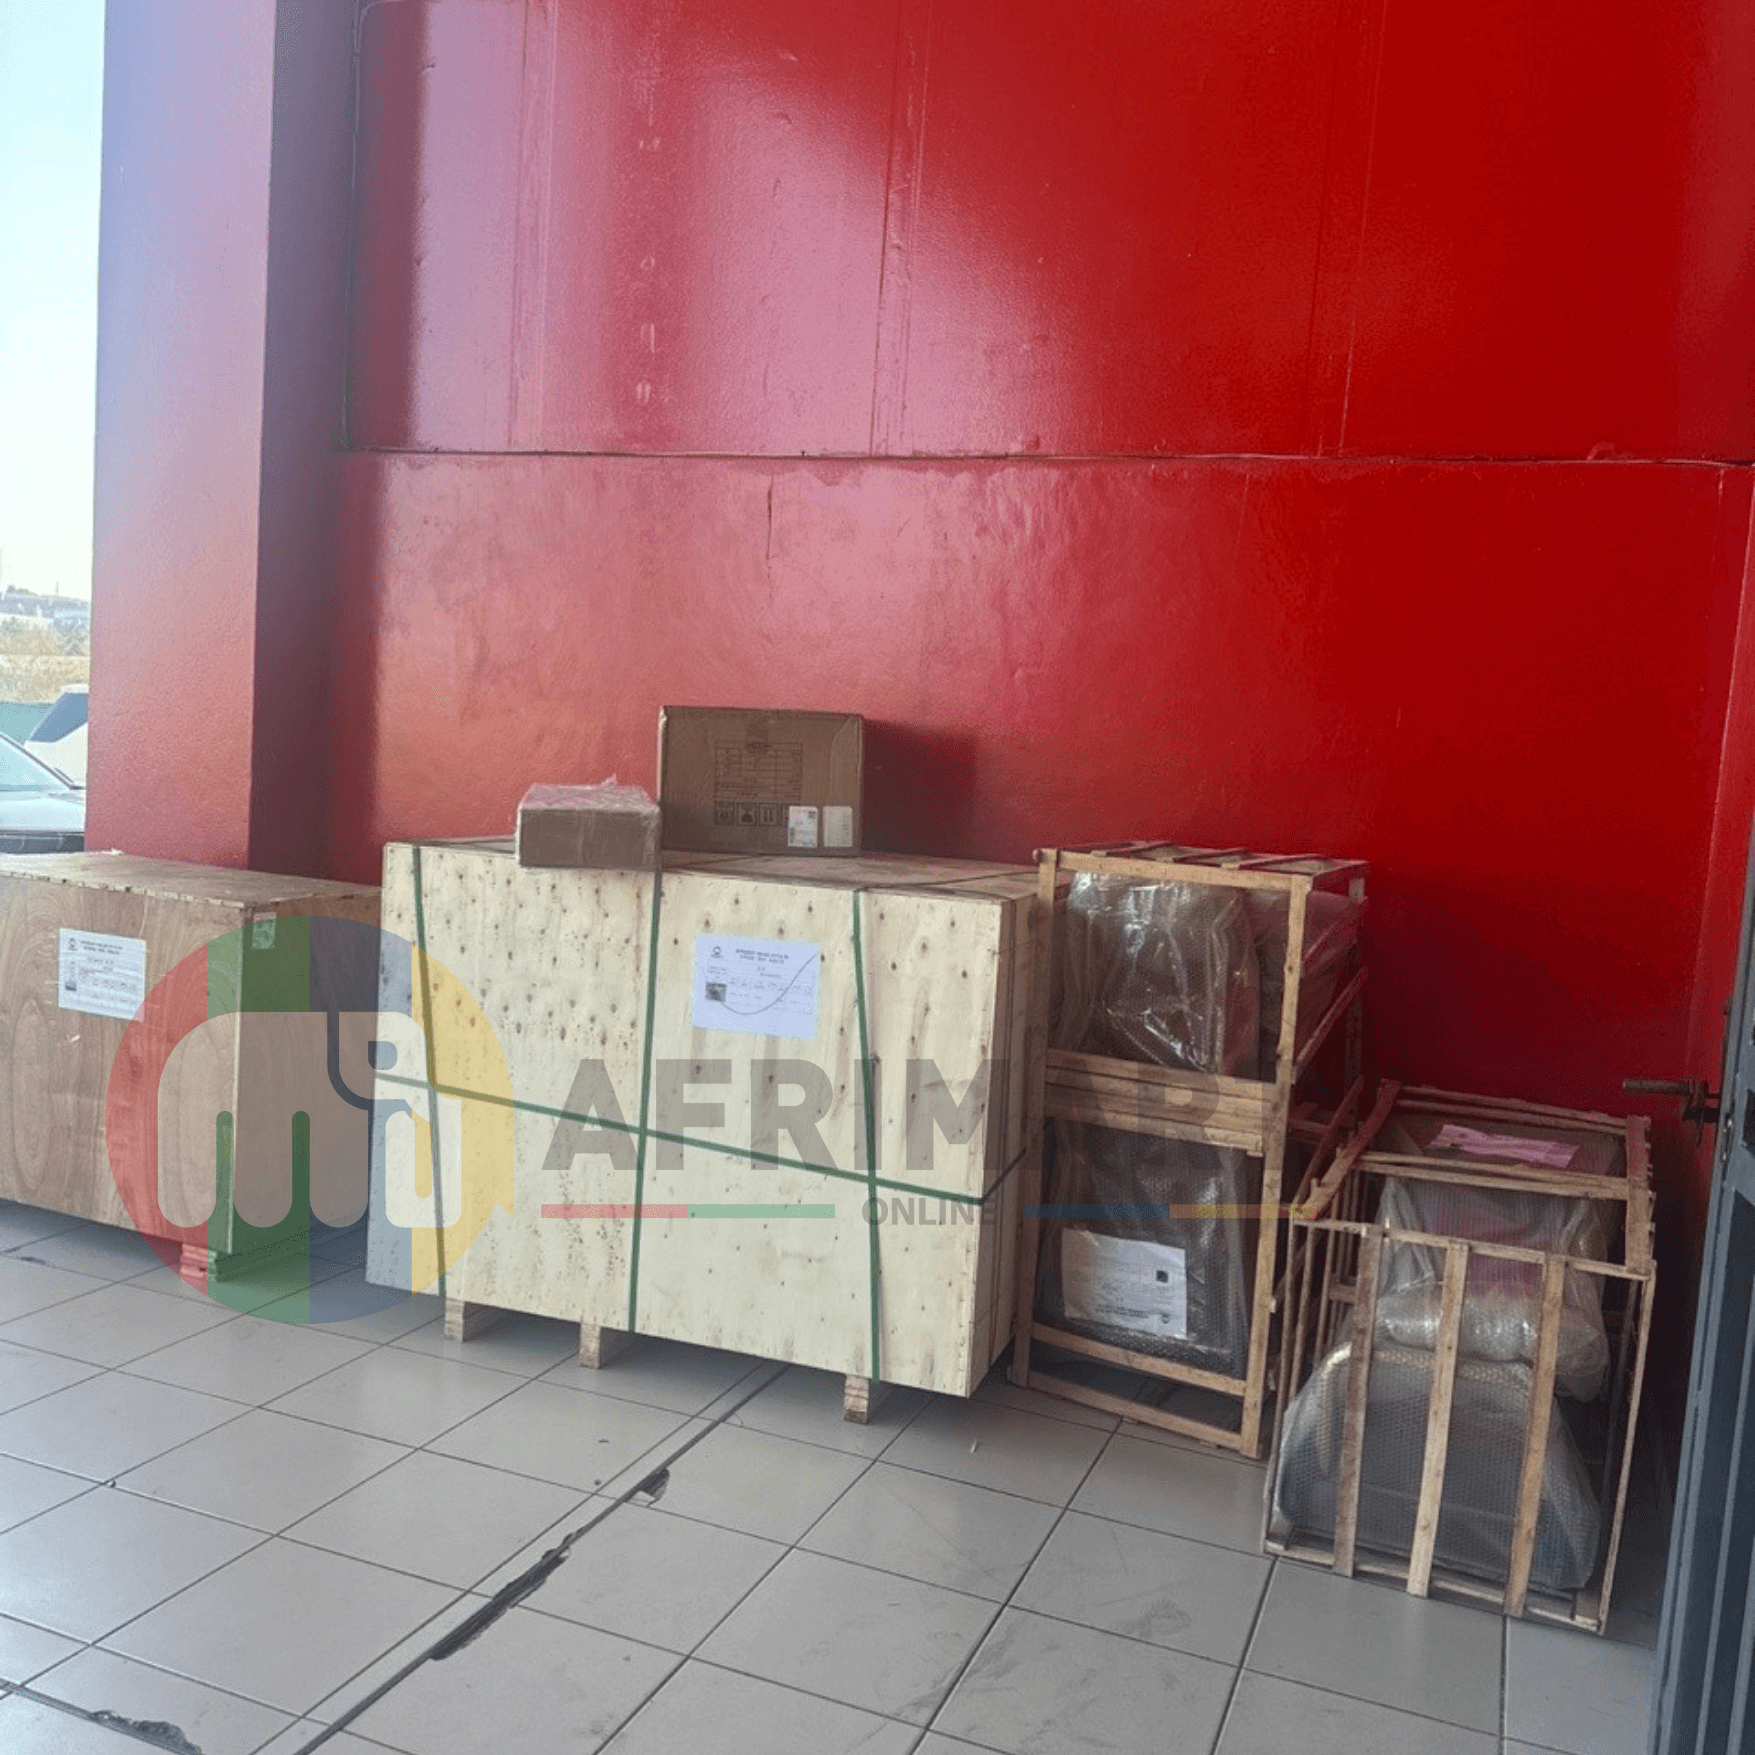
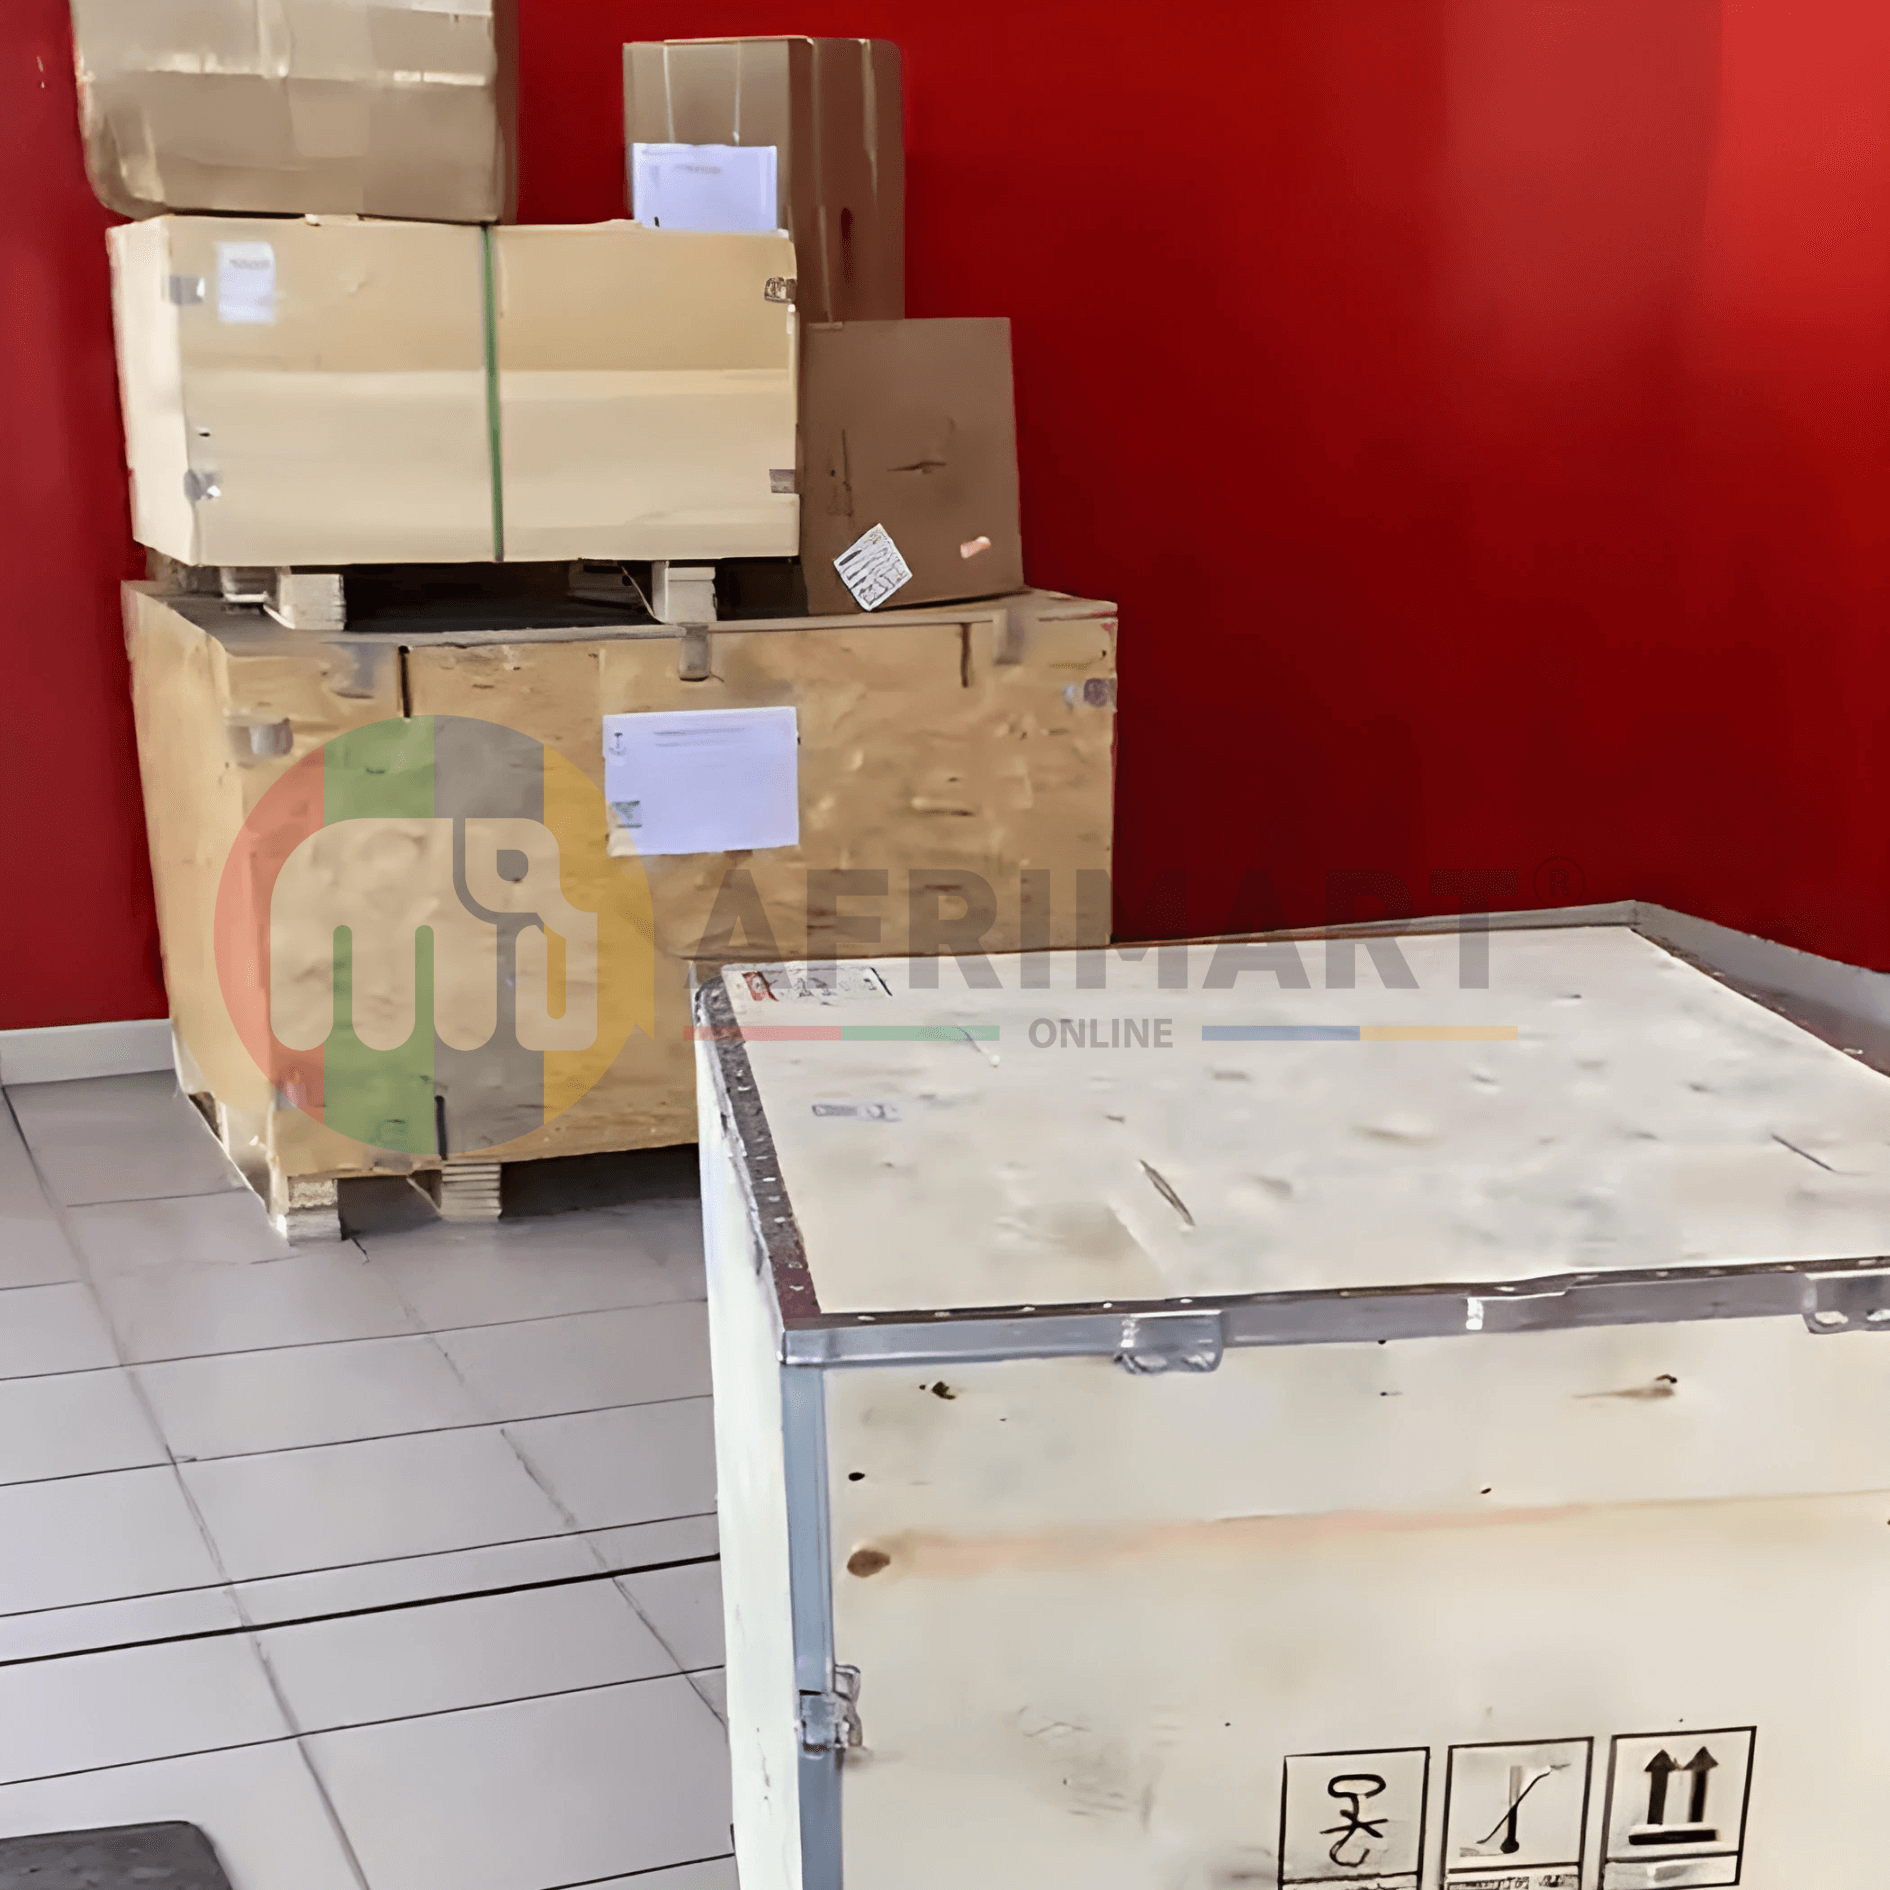
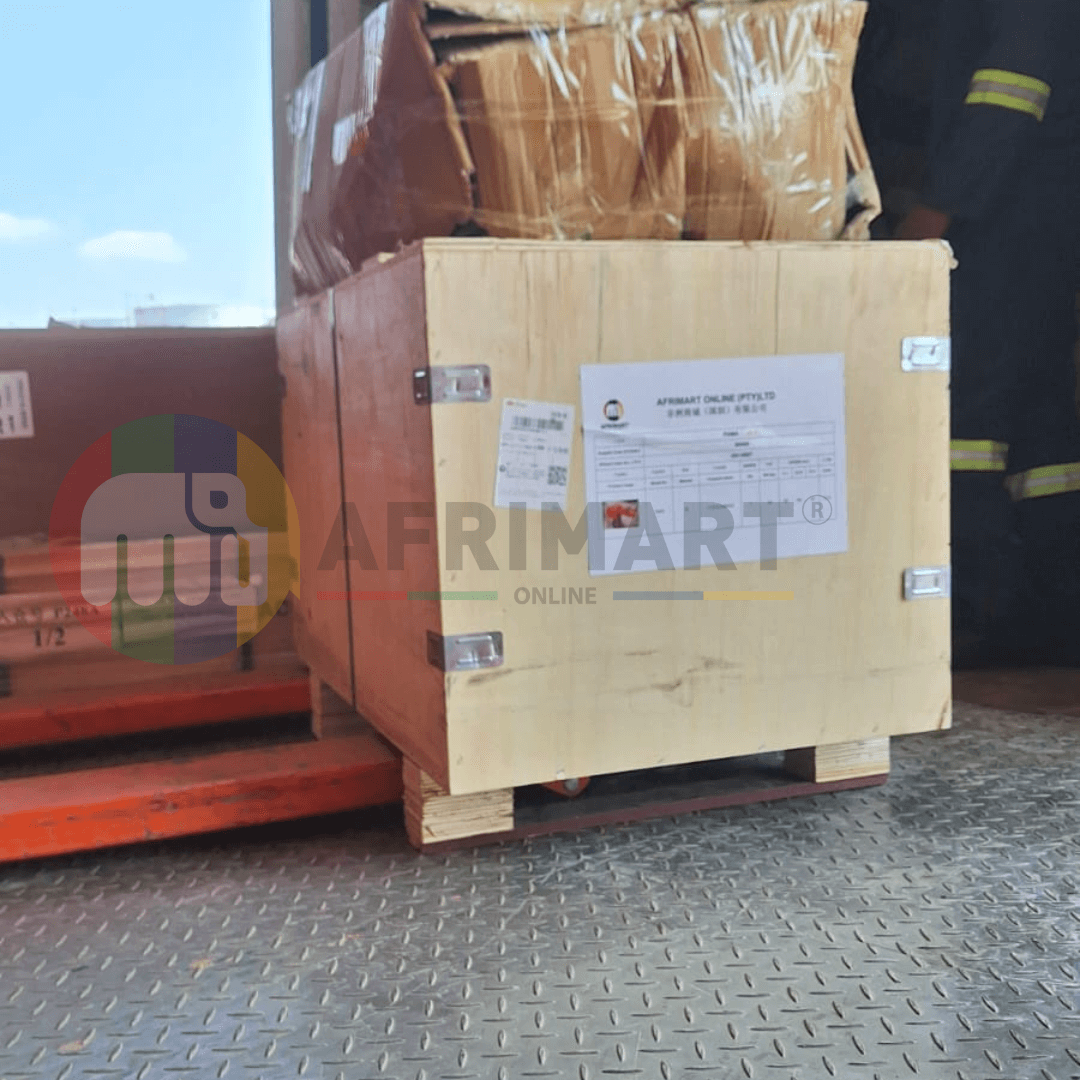
Latest Order Arrivals
Discover our latest orders

12 Heads Embroidery Machine

Dewatering Pump Machine

Order Collection
Portable Water Drilling Rig

Order Usefully Collected

Batch of Orders
Agriculture Processing Machines
Meat Grinder Machine

Water Pump Equipment
Packaging Machine and accessories

Fabrics Manufacturing Equipment

Mining Equipments

Food Processing Machine

Batch of Orders

Batch of Orders

Latest Orders Labelled

wheel alignment machines
new arrivals

Pre Orders Offloading
Latest Arrivals

Latest Arrivals